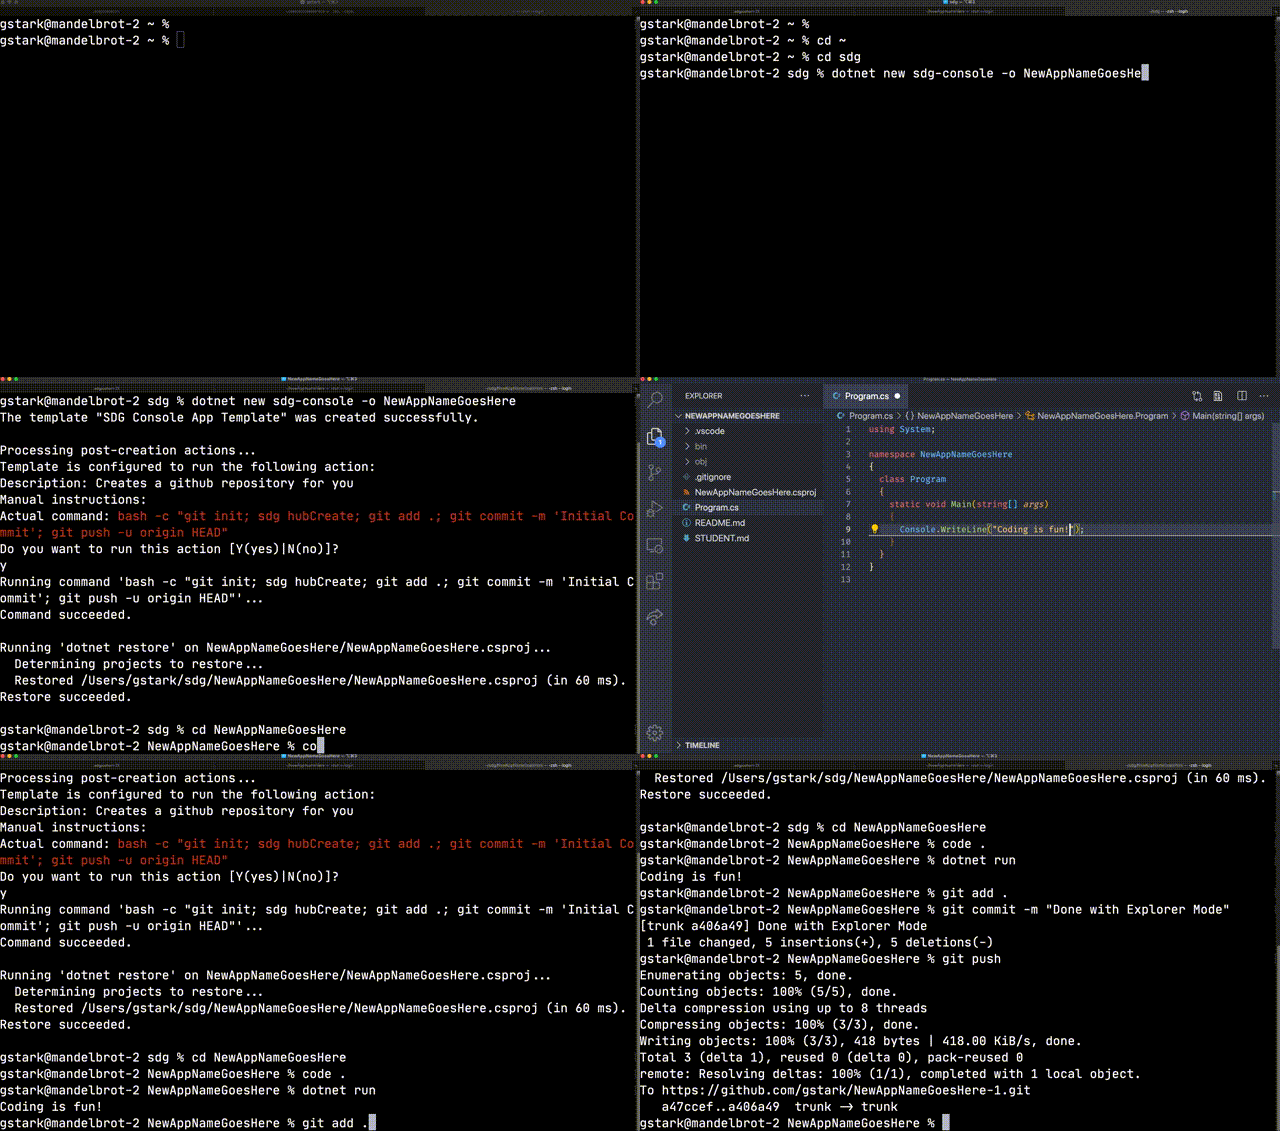
Creating and Running a C# Program
Learning Objectives
- The student will be able to create a new
C#project and run the code. - The student will understand the
dotnet newcommand.
Before we can start writing code in C# we must have a directory and a project
to contain our code. This project will tell our computer how to organize our
code, how to make the code ready to run (known as compiling) and finally how
to run our code.
Before getting started
Ensure you have setup your environment including the steps on selecting and creating a location to keep your projects.
The dotnet command
We will be using the dotnet command frequently. This command has many ways to
use it and we'll discover those in various other lessons. To get started with a
C# project we'll use the dotnet command to make a new project. The
simplest program we can write will interact with the user by what we call the
console. On Mac OS or Linux the console will be our terminal/shell and on
Windows this will be our Powershell window.
Starting in the right place
Before we can create a new project we must first change the working directory of
our shell into the directory where we'll keep our code. We suggest you use a
folder named sdg or code or something else that will remind you this is
where your projects are. You'll also want to keep this directory either in your
home folder, on your Desktop, or in your Documents folder. You will find
instructions in the setup lesson on how to create
these.
Running dotnet new sdg-console to make a new console application
Now that we have created a directory to contain our application we can use the
dotnet app to create the project:
- If your folder is named
sdgand you keep it in your home directory folder.
- OR if your folder is named
sdgand you keep it in your Documents folder.
- OR if your folder is named
sdgand you keep it on your Desktop.
Now that we are in the correct location we can run this command to generate our first new project.
dotnet new may prompt you during setup
When you run this command you will be prompted with a question:
This question is asking if you want to create a Github code repository for this
application. If you are creating a project for an assignment or you wish to keep
a record of this code, answer with a Y and you will see:
This command has a few parts. The following is an example breakdown of the command.
Our project is created along with a Github repository if we wish.
The project is in a directory with the same name we provided after the -o in
our original command. Now we will make that directory our current directory by
using the cd command:
What files make up our project?
The dotnet new sdg-console command generates a new project for us from a
template. In this case we are using the console template. Each template we
use with the dotnet new command will generate a different set of startup files
for us. These files give us a place to start as well as configure our tools so
we can get started writing code.
Let's see what startup files appear in our folder:
NOTE: You can do this one of two ways. 1: You can start your editor with:
code .2: You can use the command line toollsto list the contents of the folder.
We may also see an obj folder but we will ignore that for a moment.
Project File (.csproj)
There are two files in our folder. The first, OurDotnetApp.csproj is a file
that dotnet wrote for us. It contains details about the project itself such as
which version of dotnet our program needs. For the most part, we are not
going to modify this file
Code (Program.cs)
The second file, Program.cs is where we will start writing our C# code. The
.cs file extension indicates to our code editor as well as the dotnet tool
that this code is written in the c-sharp (or cs) language.
Let's run our code!
The template Program.cs simply prints out the phrase Welcome to C#.
To get dotnet to run our program and see if the phrase appears on our screen
we will use the dotnet run command.
We should see the following output on the screen if our program ran correctly:
Now as we change our code and add more functionality we can return to our
terminal/Powershell and run dotnet run again to see our new code in action.
Watch our code and automatically run it.
If you find yourself in a cycle of:
- Change code
- Run
dotnet run - See output
- Repeat
you can use an alternative to dotnet run named dotnet watch run. By using
this version of the command we are telling dotnet to watch our code for any
changes and to re-run our code as soon as it sees any.
With this option our terminal/Powershell will look like:
Now our working cycle can be:
- Change code
- See output
- Repeat
This leaves us in our code editor more often and allows us to focus.
Congratulations
We are all setup to begin writing programs in C# and .NET!
Demonstration
